You’re about to elevate your product game. You’ve got a fantastic product, but mediocre photos are holding you back. It’s time to master the basics of product photography and make your products shine online. With a few simple tips and tricks, you’ll soon be capturing high-quality images that showcase your products in their best light.
This guide will walk you through the fundamentals of product photography, from setting up your shot to editing your final image.
Setting Up Your Studio
To create stunning product photography, you need a well-set-up studio that allows you to control the lighting, composition, and overall aesthetic of your images.
Choosing the Right Equipment
Selecting the right camera and lenses is crucial for product photography. You don’t need the priciest gear, but you do need equipment that can produce high-quality images with good resolution and low noise.

Creating a Simple Backdrop
Your backdrop is the foundation of your product photography setup. Start with a simple colored paper or fabric that complements your product’s colors, attaching it to a wall or stand using clips or tape.
A simple backdrop keeps the focus on the product, avoiding distractions. Experiment with different textures, such as wood or stone, to add depth to your images. Remember, the goal is to highlight the product, so keep the backdrop simple and uncluttered.
Mastering Lighting Techniques
Great product photography hinges on mastering lighting techniques. Whether using natural or artificial light, understanding how to manipulate it will elevate your images from average to exceptional.
Natural Light vs. Artificial Light
The choice between natural and artificial light depends on the mood you want to create. Natural light produces soft, warm tones, ideal for products with organic or earthy qualities. Artificial light offers more control and flexibility, perfect for highlighting specific features or creating dramatic effects.
Working with Shadows and Reflections
Shadows and reflections can add depth and visual interest to your images. By embracing and manipulating them, you can create a sense of dimensional and draw attention to specific aspects of your product.
Artificial light sources, such as strobes or continuous lights, allow you to control the direction and intensity of shadows and reflections. Experiment with different lighting setups to create dramatic highlights and subtle shadows that accentuate your product’s features.
The key is to balance contrast and subtlety to create an appealing image that showcases your product in its best light.
Styling and Composition
Even with perfect lighting, product photography can fall flat without proper styling and composition. Here, we’ll cover the essential elements to consider when arranging your products and composing your shots.
The Rule of Thirds and Leading Lines
Lines are powerful compositional tools. The rule of thirds involves dividing your frame into thirds both horizontally and vertically, placing important elements along those lines. Leading lines guide the viewer’s eye to the product, creating a sense of flow and direction.
Balancing Negative Space and Focal Points
Negative space may seem like empty space, but it’s crucial for creating visually appealing compositions. Balancing negative space with focal points creates harmony and draws attention to your product.
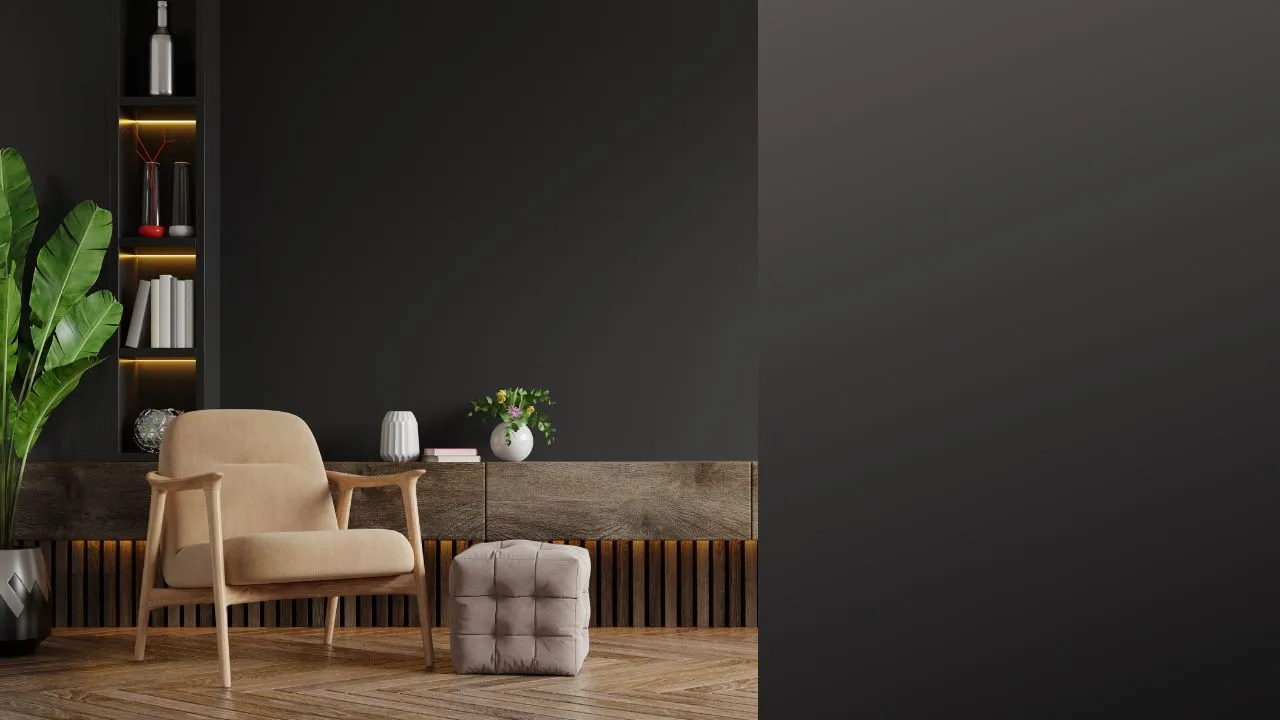
Experiment with different arrangements, such as placing your product off-center and using negative space to create simplicity and elegance. Alternatively, use bold colors or textures to create focal points that draw the viewer’s eye to specific features of your product.
The key is balance—too much negative space can make your image feel empty, while too many focal points create clutter.
Editing and Post-Production
Capturing high-quality images is just the start; editing and post-production are crucial for refining your photos and making them visually appealing.
Basic Retouching and Color Correction
Start by performing basic retouching and color correction. Remove any blemishes, dust, or imperfections, and adjust the color balance to ensure it accurately represents your product.
Enhancing Textures and Details
Enhancing textures and details creates an immersive shopping experience. You want the image to convey the tactile sense of the product, making customers feel like they can reach out and touch it.
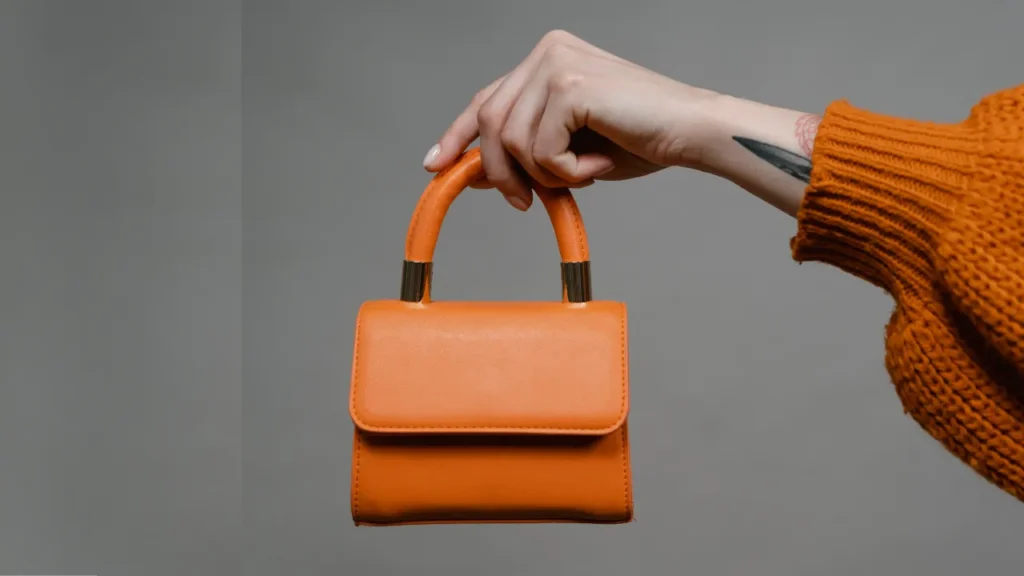
Accentuating textures and details can significantly enhance your product images. For example, if you’re selling a luxury leather handbag, emphasize the supple texture of the leather to make it look soft and inviting.
To Wrap Up
You’ve now learned the essential tips and tricks to elevate your product photography. You’ve grasped the importance of proper lighting, composition, and styling, and discovered how to work with different backgrounds, props, and editing software. Now it’s time to put your skills into practice. Remember, practice makes perfect, so keep experimenting and pushing your creative boundaries. With patience, persistence, and attention to detail, you’ll be capturing stunning product photos that showcase your products in the best possible light.
