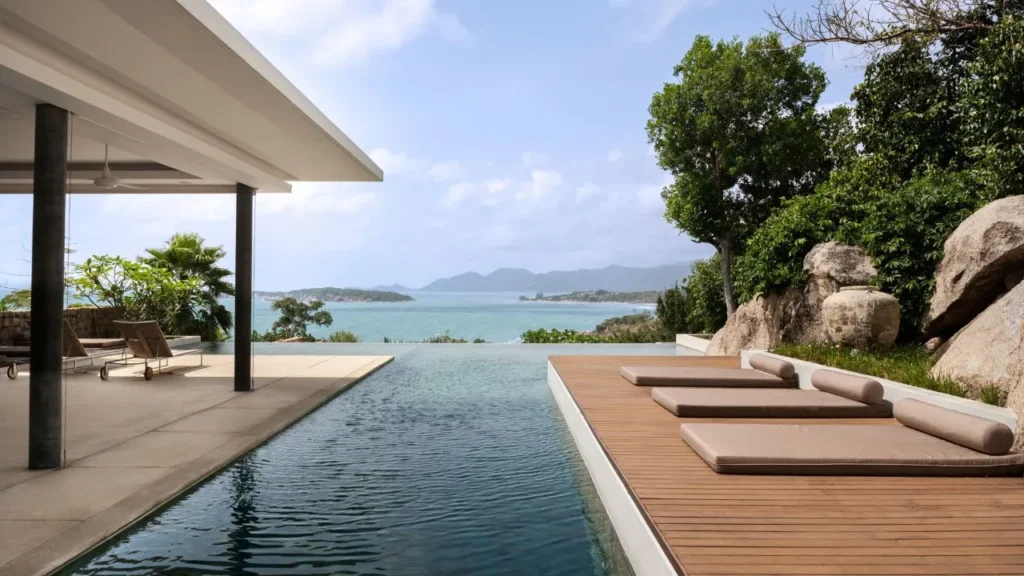
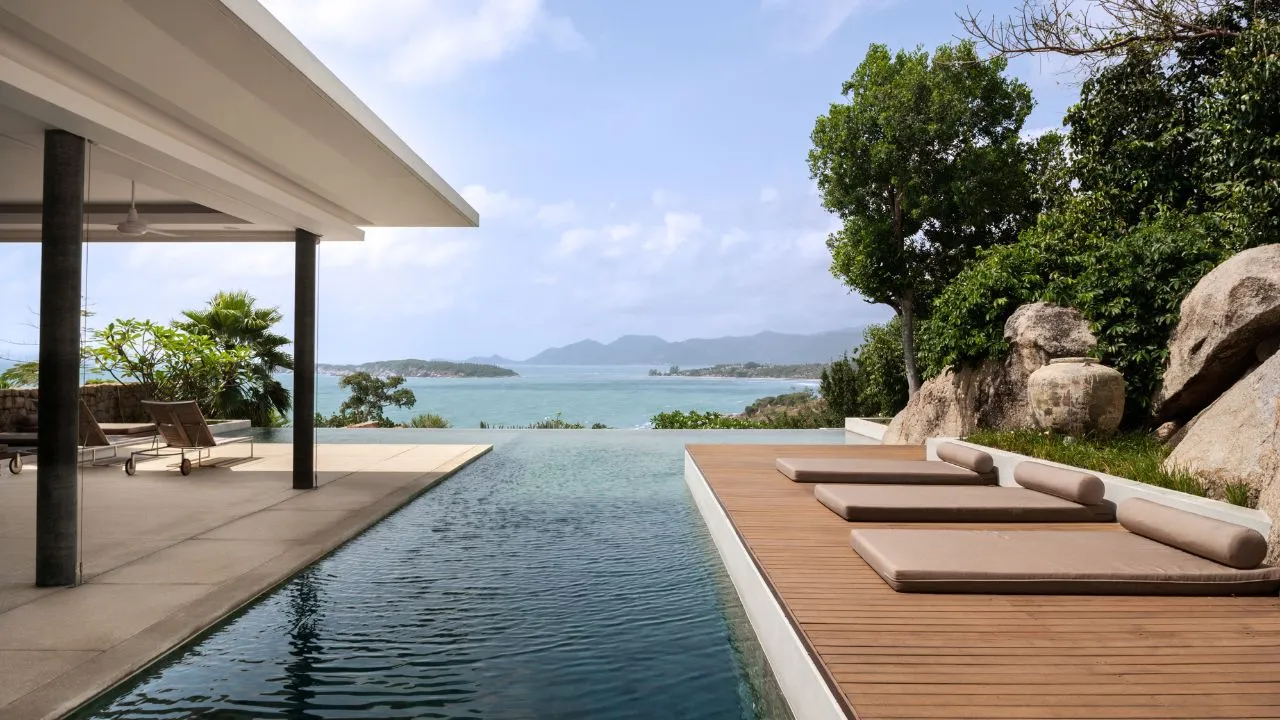
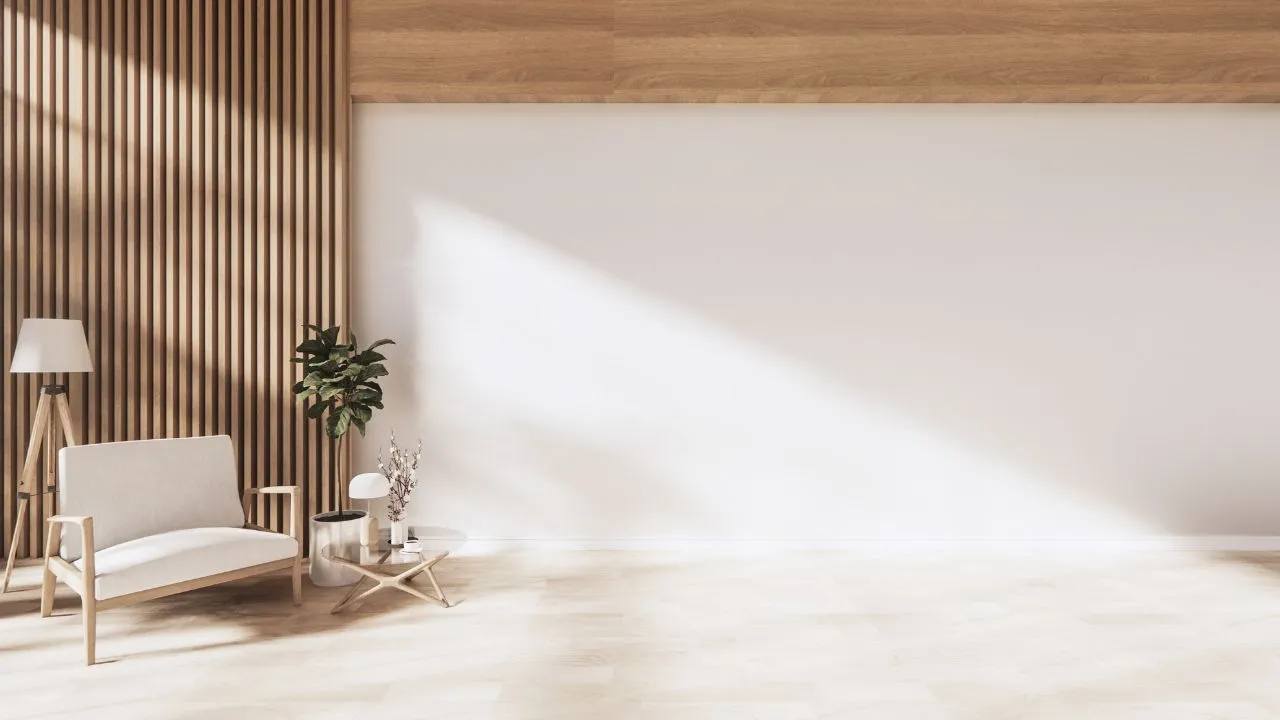
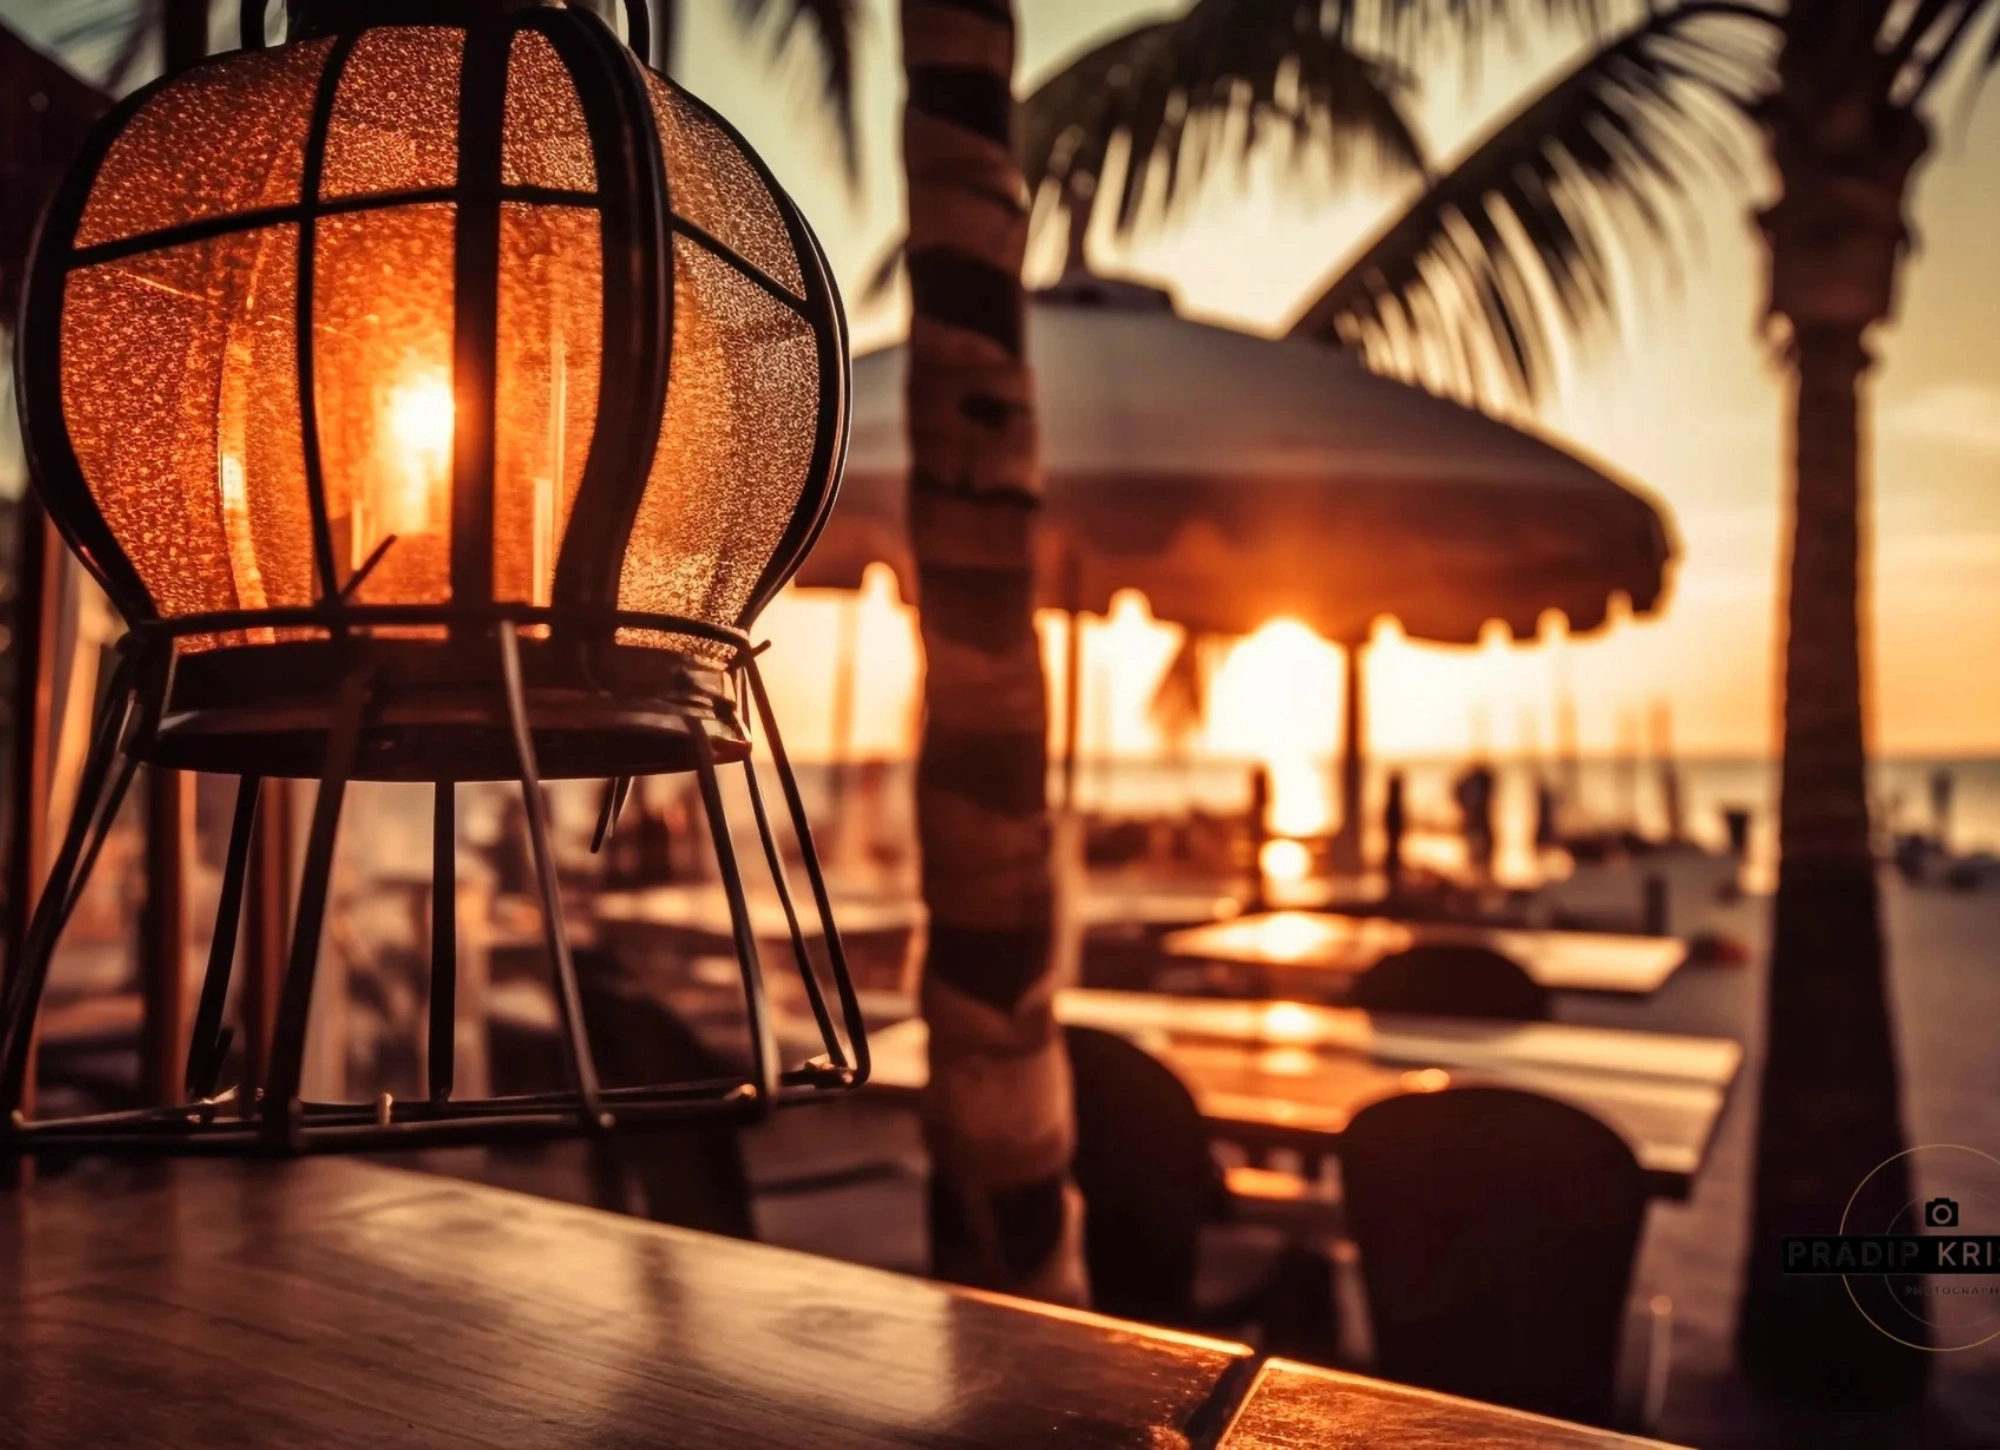
As you step into interior photography, you’re likely to discover that harnessing the power of natural light is the key to capturing stunning, magazine-worthy images. The benefits of natural light in photography are undeniable – it adds warmth, depth, and a sense of authenticity to your shots.
But, mastering the art of using sunlight in interiors requires more than just pointing your camera towards the window. With the right techniques, you can learn to balance light exposure, soften harsh sunlight, and enhance room brightness, resulting in photographs that exude a sense of serenity and inviting charm.
In this article, we’ll explore into the tips and tricks of using natural light in interior photography, empowering you to take your skills to the next level.
Harnessing the Power of Natural Light
While natural light is a crucial element in interior photography, it can be challenging to work with, especially when dealing with harsh sunlight or limited window access.
However, with the right techniques and understanding of how to harness its power, you can create stunning images that showcase the beauty of a space.
Benefits of Natural Light in Interior Photography
For interior photographers, natural light offers a range of benefits, including creating a sense of warmth and coziness, enhancing room brightness, and adding depth and dimension to an image.
It can also help to create a sense of authenticity, making the space feel more inviting and lived-in.
Capturing Daylight: Tips for Working with Sunlight in Interiors
Capturing daylight in interior photography requires careful planning and attention to detail. Here are some tips to get you started:
- Shoot near windows or glass doors to maximize natural light.
- Use light-bouncing techniques to soften harsh sunlight.
- Employ natural light diffusers or reflectors to balance light exposure.
- Adjust your camera settings to optimal exposure settings for the scene.
- Recognizing the importance of timing, plan your shoot during the golden hour or overcast days for softer, more flattering light.
Photography is all about capturing the right moment, and when it comes to working with natural light, timing is everything.
By understanding how to harness the power of sunlight, you can create images that are not only visually stunning but also evoke a sense of warmth and comfort.
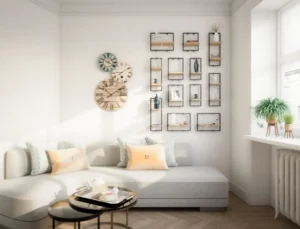
Whether you’re shooting in a bright, airy space or a cozy, intimate room, natural light can help bring your interior photography to life.
Camera Settings for Optimal Natural Light Capture
There’s no denying that natural light is one of the most flattering and sought-after elements in interior photography. However, capturing it effectively requires a deep understanding of camera settings.
In this section, we’ll research into the optimal camera settings for harnessing the power of natural light in your interior photography.
ISO Settings for Interiors: Finding the Right Balance
One of the most critical ISO settings for interior photography is finding the right balance between noise reduction and image brightness. A lower ISO (100-400) is ideal for capturing natural light, as it reduces noise and ensures a cleaner image.
However, if you’re shooting in a low-light environment, you may need to bump up the ISO to compensate for the lack of light.
Aperture for Photography: Controlling Depth of Field and Light
Interiors often feature a mix of bright and dark areas, making aperture control crucial for capturing natural light. A wide aperture (f/2.8 or lower) allows more light to enter the camera, enhancing room brightness and creating a shallow depth of field.
The key to mastering aperture is understanding how it affects the overall mood and atmosphere of your image. By adjusting the aperture, you can creatively control the amount of light entering the camera, adding depth and dimension to your interior photographs.
Bear in mind, a wider aperture will also reduce the depth of field, drawing attention to specific areas of the room.
Enhancing Natural Light Photos in Post-Processing
Now that you’ve captured stunning natural light in your interior photography, it’s time to enhance those images in post-processing.
Editing Interior Photos: Post-Processing Tips for Enhancing Natural Light
The key to enhancing natural light in your interior photos lies in subtle editing techniques. You can start by adjusting the exposure, contrast, and highlights to bring out the warmth and softness of the natural light. Be cautious not to overdo it, as this can lead to an unnatural look.
- Adjust the white balance to match the lighting conditions of the scene.
- Use the curves tool to add depth and dimension to your image.
- This will help to create a more realistic and inviting atmosphere in your interior photos.
Photo Retouching and Image Enhancement: Color Correction and More
For a more refined look, examine into photo retouching and image enhancement techniques.
Natural light can sometimes introduce unwanted color casts or imperfections in your image. By applying color correction techniques, you can neutralize these casts and bring out the true colors of the scene.
Additionally, you can use noise reduction tools to minimize the effects of low-light conditions, resulting in a cleaner and more polished image.
Mastering Light Control Techniques
Your ability to control and manipulate natural light is crucial in capturing stunning interior photographs. By mastering light control techniques, you can balance exposure, reduce glare, and enhance the overall ambiance of the space.

Using Reflectors in Photography: Balancing Light Exposure
With the right reflectors, you can redirect and soften harsh sunlight, creating a more balanced exposure in your interior photographs.
By positioning reflectors strategically, you can bounce light into darker areas, reducing the need for artificial lighting and capturing a more natural atmosphere.
Light Bouncing Techniques: Softening Sunlight and Reducing Glare
Light has a way of behaving unpredictably, but by using light bouncing techniques, you can tame its intensity and create a softer, more flattering effect.
By angling your camera or using natural light diffusers, you can reduce glare and capture a more nuanced representation of the space.
To take your light bouncing techniques to the next level, experiment with different materials and surfaces to diffuse and redirect sunlight.
For example, you can use sheer curtains, blinds, or even a white sheet to soften the light and create a more ethereal atmosphere. By doing so, you’ll be able to capture the benefits of natural light in photography, including enhanced room brightness and a more authentic representation of the space.
Conclusion
Taking this into account, you now possess the imperative knowledge to harness the power of natural light in your interior photography.
By understanding the benefits of natural light, mastering camera settings, and utilizing editing techniques, you can transform your images from dull to dazzling.
Remember to balance light exposure, soften sunlight, and reduce glare to create visually stunning photographs. With practice and patience, you’ll unlock the full potential of natural light in photography, capturing breathtaking scenes that showcase your unique perspective and artistic vision.

